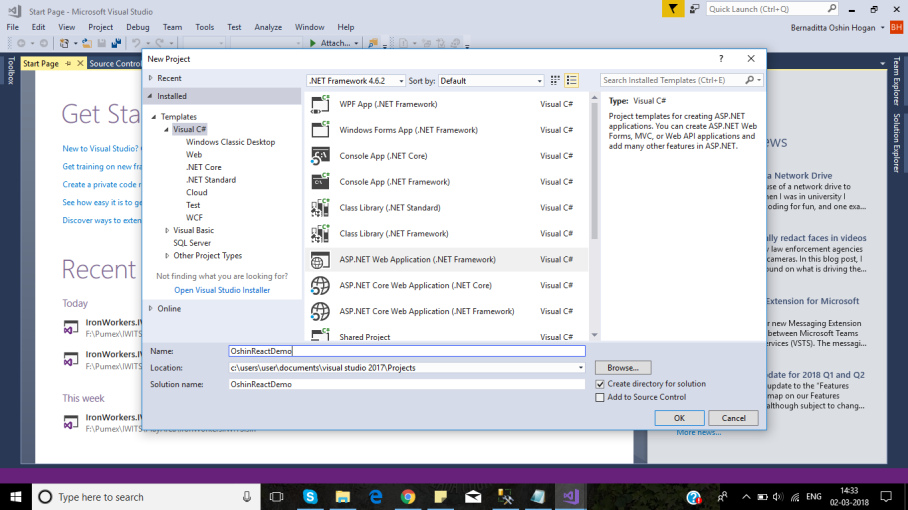
The following topics are covered in this article:
- M-V-C
- How a request is processed?
- Folder Structure and Naming Conventions
- Why MVC?
M-V-C
MVC is Model-View-Controller, a design pattern used in web development. If you are familiar with Web Forms in ASP.NET, you may trace back a few concepts in here with what you already know and if you are not, then let’s see what MVC is. Unlike Web Forms which has the aspx and aspx.cs file with server controls and code-behind concepts, here in MVC everything circles around classes and HTML. No server-side controls or no drag and drop of controls are possible in the MVC world.
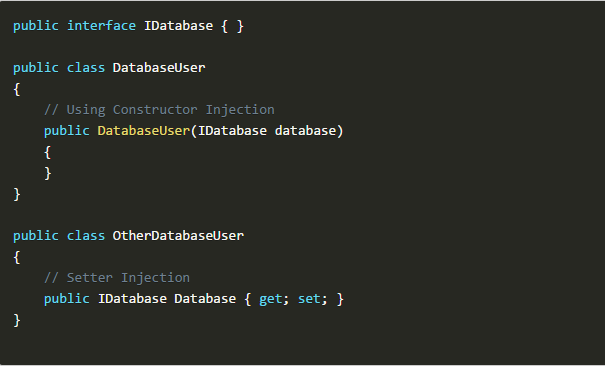
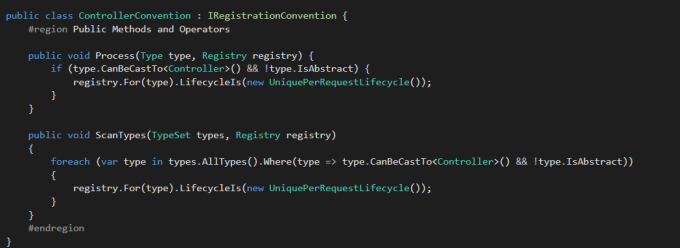
Controller
The controller is a class which holds the action methods. It mainly controls the flow of the application. The controller does the processing of the request made by the user by making the database calls or do any other ‘job’ to process the user’s request and returns the view. The controllers should be inherited from the ‘Controller’ class.
An example of the controller is as follows:
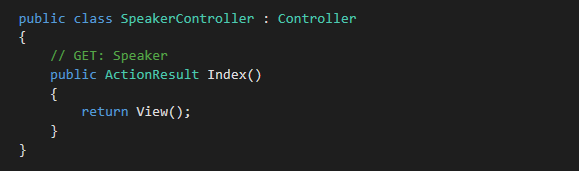
Here Index() is the action method defined in the Speaker controller. The return type should be ActionResult or any classes inherited from ActionResult. Possible other options include the following:
a. FileResult

b.JsonResult

c. ViewResult
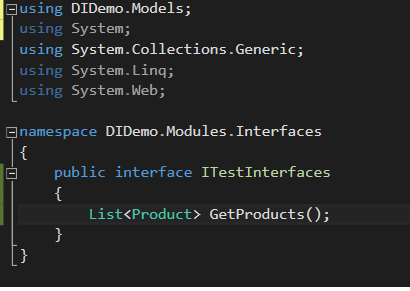
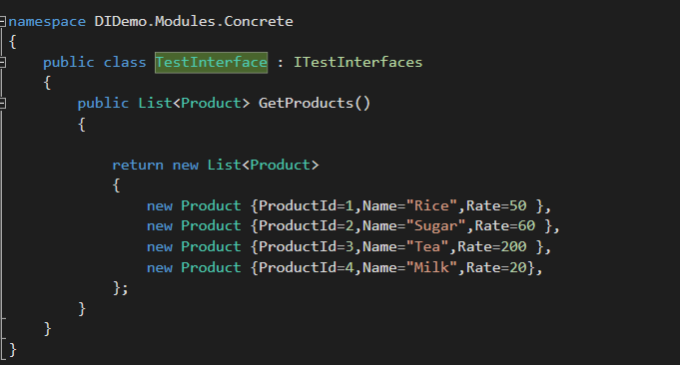
Model
The model is a class which holds the data. The data is described as properties in Models.

In the above Speaker model, SpeakerId and Name are the properties defined.
The model can also hold some optional attributes which act as decorations to the data for validation. These attributes are called Data Annotations. The data annotations handle the client side as well as server-side validation without writing any additional code.
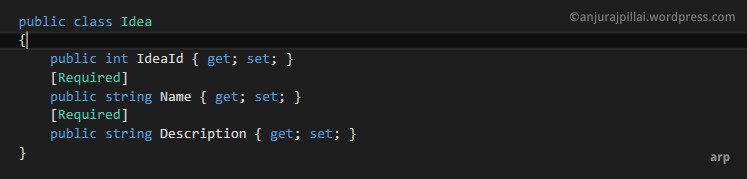
Model with Data Annotations
In the above sample code, [Required] is the attribute that specifies that the value is required for the properties Name and Description. Hence the required field validator is implemented by the data annotation [Required] without any extra coding.
View
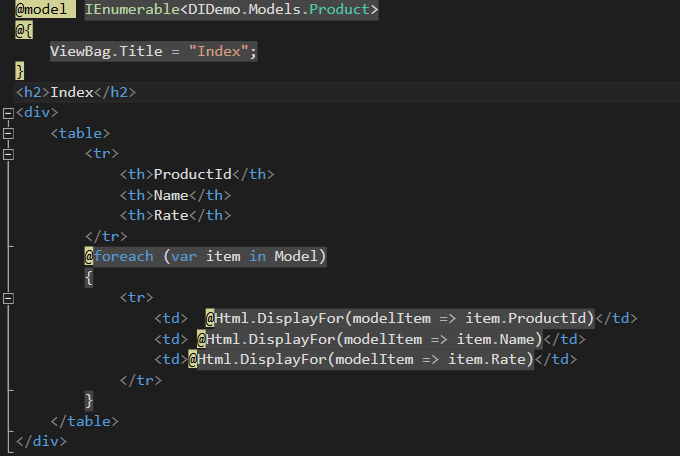
The view is the HTML content which will be shown to the user. When a request is processed, the view is returned by the controller.
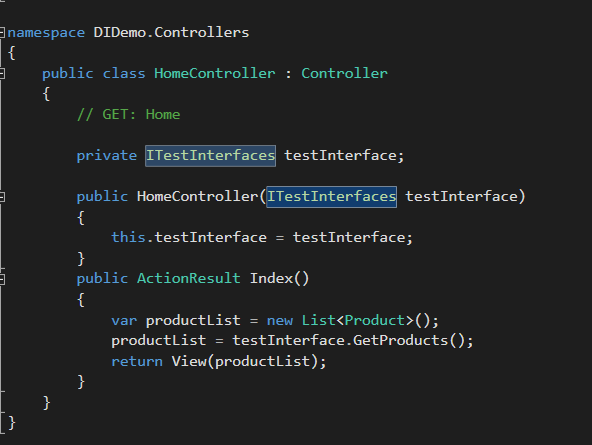
How the request is served?
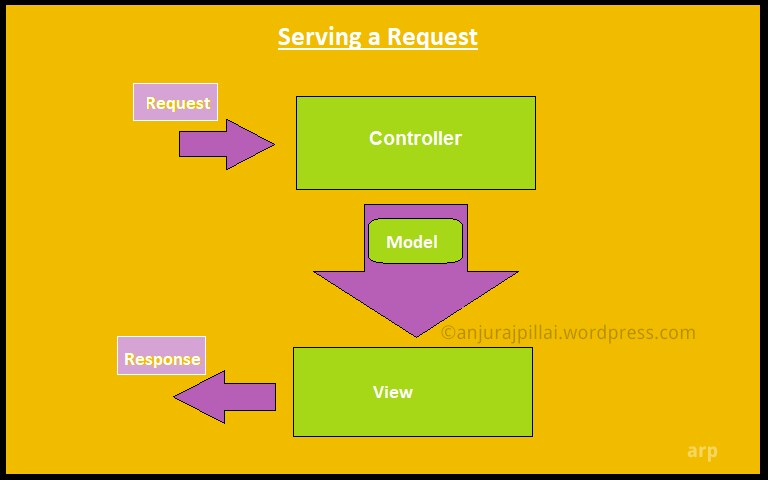
In the case of MVC application when a URL is requested by the user, the Global.ascx file with the help of the class RouteConfig.cs executes the corresponding action results in the controller. In fact, when a web request happens a method in the controller class is called. The Controller ‘does something’ and sends the Model (data) to the View (UI) and the response goes out to the user. Here the controller can either make a database call, do some other processing or anything it wants to and the result of which will be the data (Model) to be shown to the user (View). In fact, if there is no data to be sent to the view, it can just call the view without the Model. And it’s absolutely fine.
Consider the sample URL below:
http://mysite/Speaker/Index
Here, ‘Speaker’ is the controller name and ‘Index’ is the name of a method inside the SpeakerController.cs class.
So when the user requests this URL in the address bar of the browser, the action method ‘Index’ inside the SpeakerController.cs class is executed and a view with the name ‘Index’ which has the HTML content is returned back.
Routing
The routing rules are defined in the file RouteConfig.cs. When the request comes in, the Application_Start event in the Global.ascx file invokes the routing rules defined in the RouteConfig class. A default route will be defined in it and we may add more routes as and when needed. The RouteConfig.cs appears under the folder App_Start by default, but it is not mandatory for the file to be in that location itself for the application to run.

RouteConfig.cs
The sample code which is in the RouteConfig.cs class is as follows:
public class RouteConfig
{
    public static void RegisterRoutes(RouteCollection routes)
    {
       routes.IgnoreRoute("{resource}.axd/{*pathInfo}");

       routes.MapRoute(
              name: "Default",
              url: "{controller}/{action}/{id}",
              defaults: new { controller = "Home", action = "Index", id = UrlParameter.Optional }
        );
    }
}
The line url: “{controller}/{action}/{id}” specifies the pattern of the url. Here id is the optional parameter passed to the action.
defaults: new { controller = “Home”, action = “Index”, id = UrlParameter.Optional } :This specifies the default controller and action name.
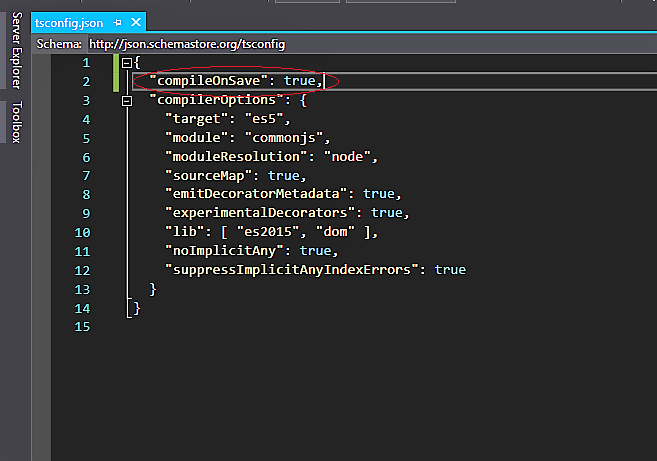
Folder Structure and Naming Conventions
For MVC to work properly, one has to follow a handful of naming conventions and folder structures.
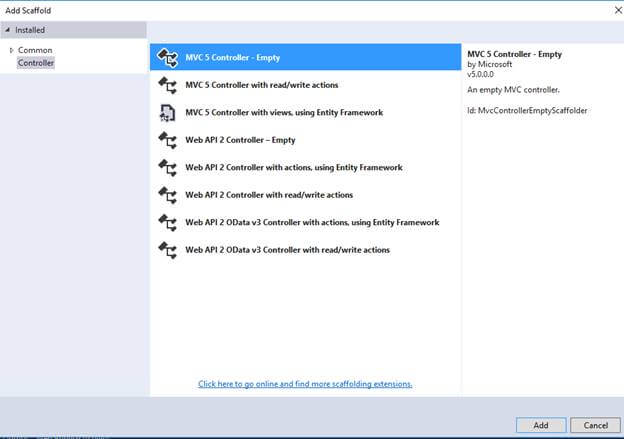
Controllers: The controllers are to be placed inside the ‘Controller’ folder. All the controllers are to be named ‘Controller’ after the actual name. If you need to create a Home controller, then it should be named HomeController.cs.

Controllers Folder Structure
View: All the views reside in the ‘Views’ folder. For the application to work correctly, inside the ‘Views’ folder, there should be a folder with the name of the controller, and the view with the name of the action method defined in the controller should be there in this folder.
If we have an action ‘Index’ inside the SpeakerController, then corresponding to that, there should be a view with the name Index.cshtml (for C#. For VB, it is Index.vbhtml) inside the folder Speaker of the Views folder.

Views Folder Structure
Model: In the case of the model, it’s NOT mandatory to have the model inside the model folder or even inside the application. The model can be placed anywhere in the application or if you would like to use models from an external source, that is also possible. Having said that, normally if the models are in the same application itself then it is preferable to have them inside the Model folder in so that everything will be in an organized fashion.
Why MVC?
The biggest advantage of MVC over Web Forms is the separation of concern. In the case of Web Forms, the controls in the page and the code on which it executes are tightly coupled. If there is a button Button1 on the aspx page, there is an event Button1_OnClicked in the aspx.cs file which is tightly coupled to the button click. In the case of MVC, the UI, and the business logic is separated and is defined across the Model, View, and Controller and hence the dependency is minimized.
Another advantage of MVC is testability. Since the controller is a class, every method in that is unit testable unlike the case of web forms. It enhances the application in the long run in such a way that if there is any change in any of the code in the future, it can be unit tested which saves time and energy.
Hope to see you soon on another topic! Happy coding!


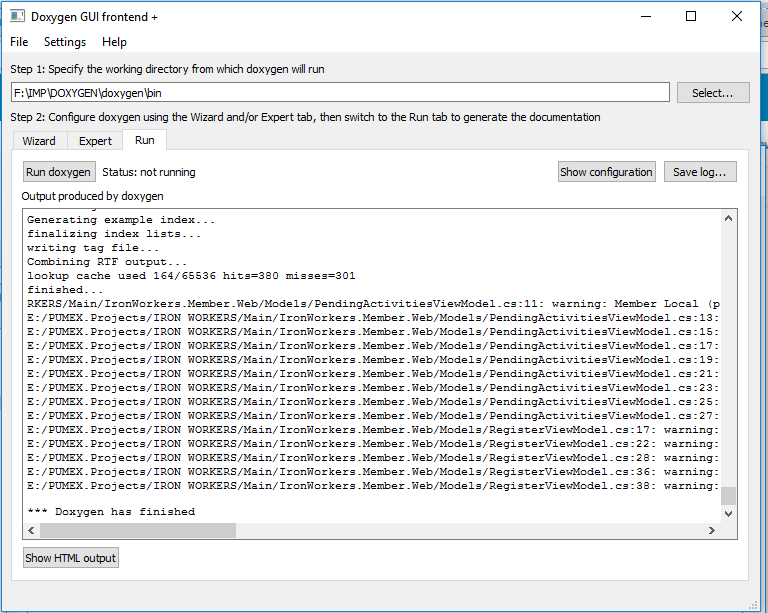
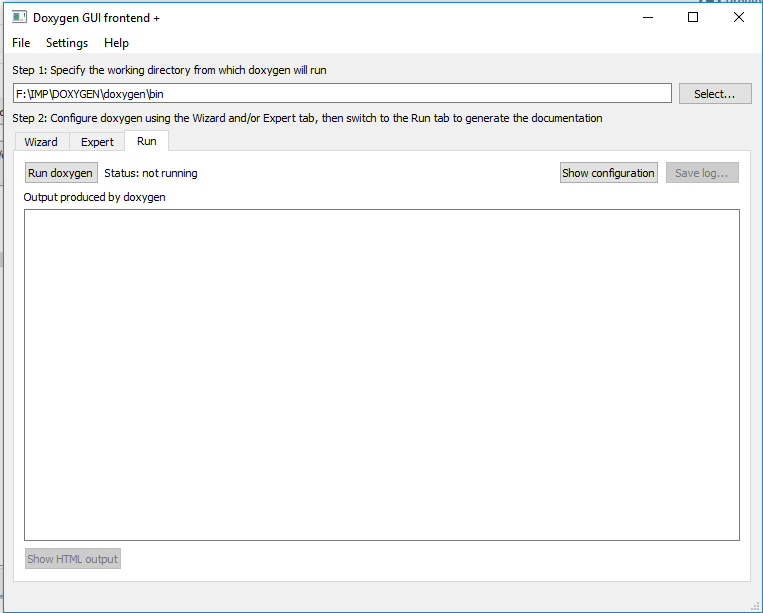 After completing the execution we can check the output using the link -Show HTML output.